Ultimate Comparison: Omnipod vs. Medtronic MiniMed Insulin Pumps – Which Reigns Supreme?
Disclaimer: The content you’re about to read may contain affiliate links to products I love and recommend. Which means, I may earn a small commission from items purchased through these links (at no additional cost to you) which helps me provide even more awesome content for you 😊 I appreciate your support!

Hey y’all! Welcome back to the blog, and happy February! Since this is the shortest month of the year, I’m going to try to keep this blog post short and sweet (like all of that Valentine’s Day candy I swore I wouldn’t eat in one sitting… Oops🤷♀️- don’t even ask me how much insulin I needed!).
Since ringing in the new year, 2025 definitely has me feeling that fresh, new vibe that comes with the start of a new year. My focus this year is all about sustainable, eco-friendly living. I’m diving headfirst into repurposing, recycling, and living that clean, natural lifestyle! It’s all about making conscious choices that are better for the environment and our beautiful families—one little step at a time.
If you’ve gotten the bug too and jumped on this train and haven’t read my latest blog post about making your very own DIY homemade, money-saving, non-toxic, clean laundry detergent, you NEED to check it out here! It’s a no-brainer and total game-changer!
But today, we’re tackling something that’s been bugging me for way too long: the annoying little bit of deodorant stuck at the bottom of the tube that you can never quite use up.
I absolutely hate wasting it, but the struggle is REAL when you try to apply deodorant, and instead of a smooth, fresh swipe, you get a painful plastic scrape to the armpit. Not the vibe. I don’t know about you, but I despise wasting anything—especially when I know it could still be used! (I’m so cray that I even dig the cardboard toilet paper tubes out of the trash, to recycle them, when my husband throws them away!).
So, I thought: There has to be a way to repurpose this stuff instead of tossing it out!
And—because I’m always looking for ways to DIY things at home— my deodorant repurposing experiment began, and I came up with a genius way to repurpose those deodorant leftovers into new, eco-friendly homemade deodorant!
Attempt #1: The Hot Mess Express
I started saving my old deodorant tubes, scraping out every last bit of product, and melting it all down so I could pour it back into one of my old tubes. Genius, right? Well… not so much.
Spoiler alert: It was an epic fail!
Here’s what happened: I melted down the deodorant, all excited to repour it, but as soon as I poured it into my old deodorant tube, it started leaking EVERYWHERE. Apparently, the little crank mechanism at the bottom has holes (which I somehow never noticed before?!), and my beautifully melted deodorant ended up all over my counter instead of in the tube. 😭
Attempt #2: Amazon to the Rescue!
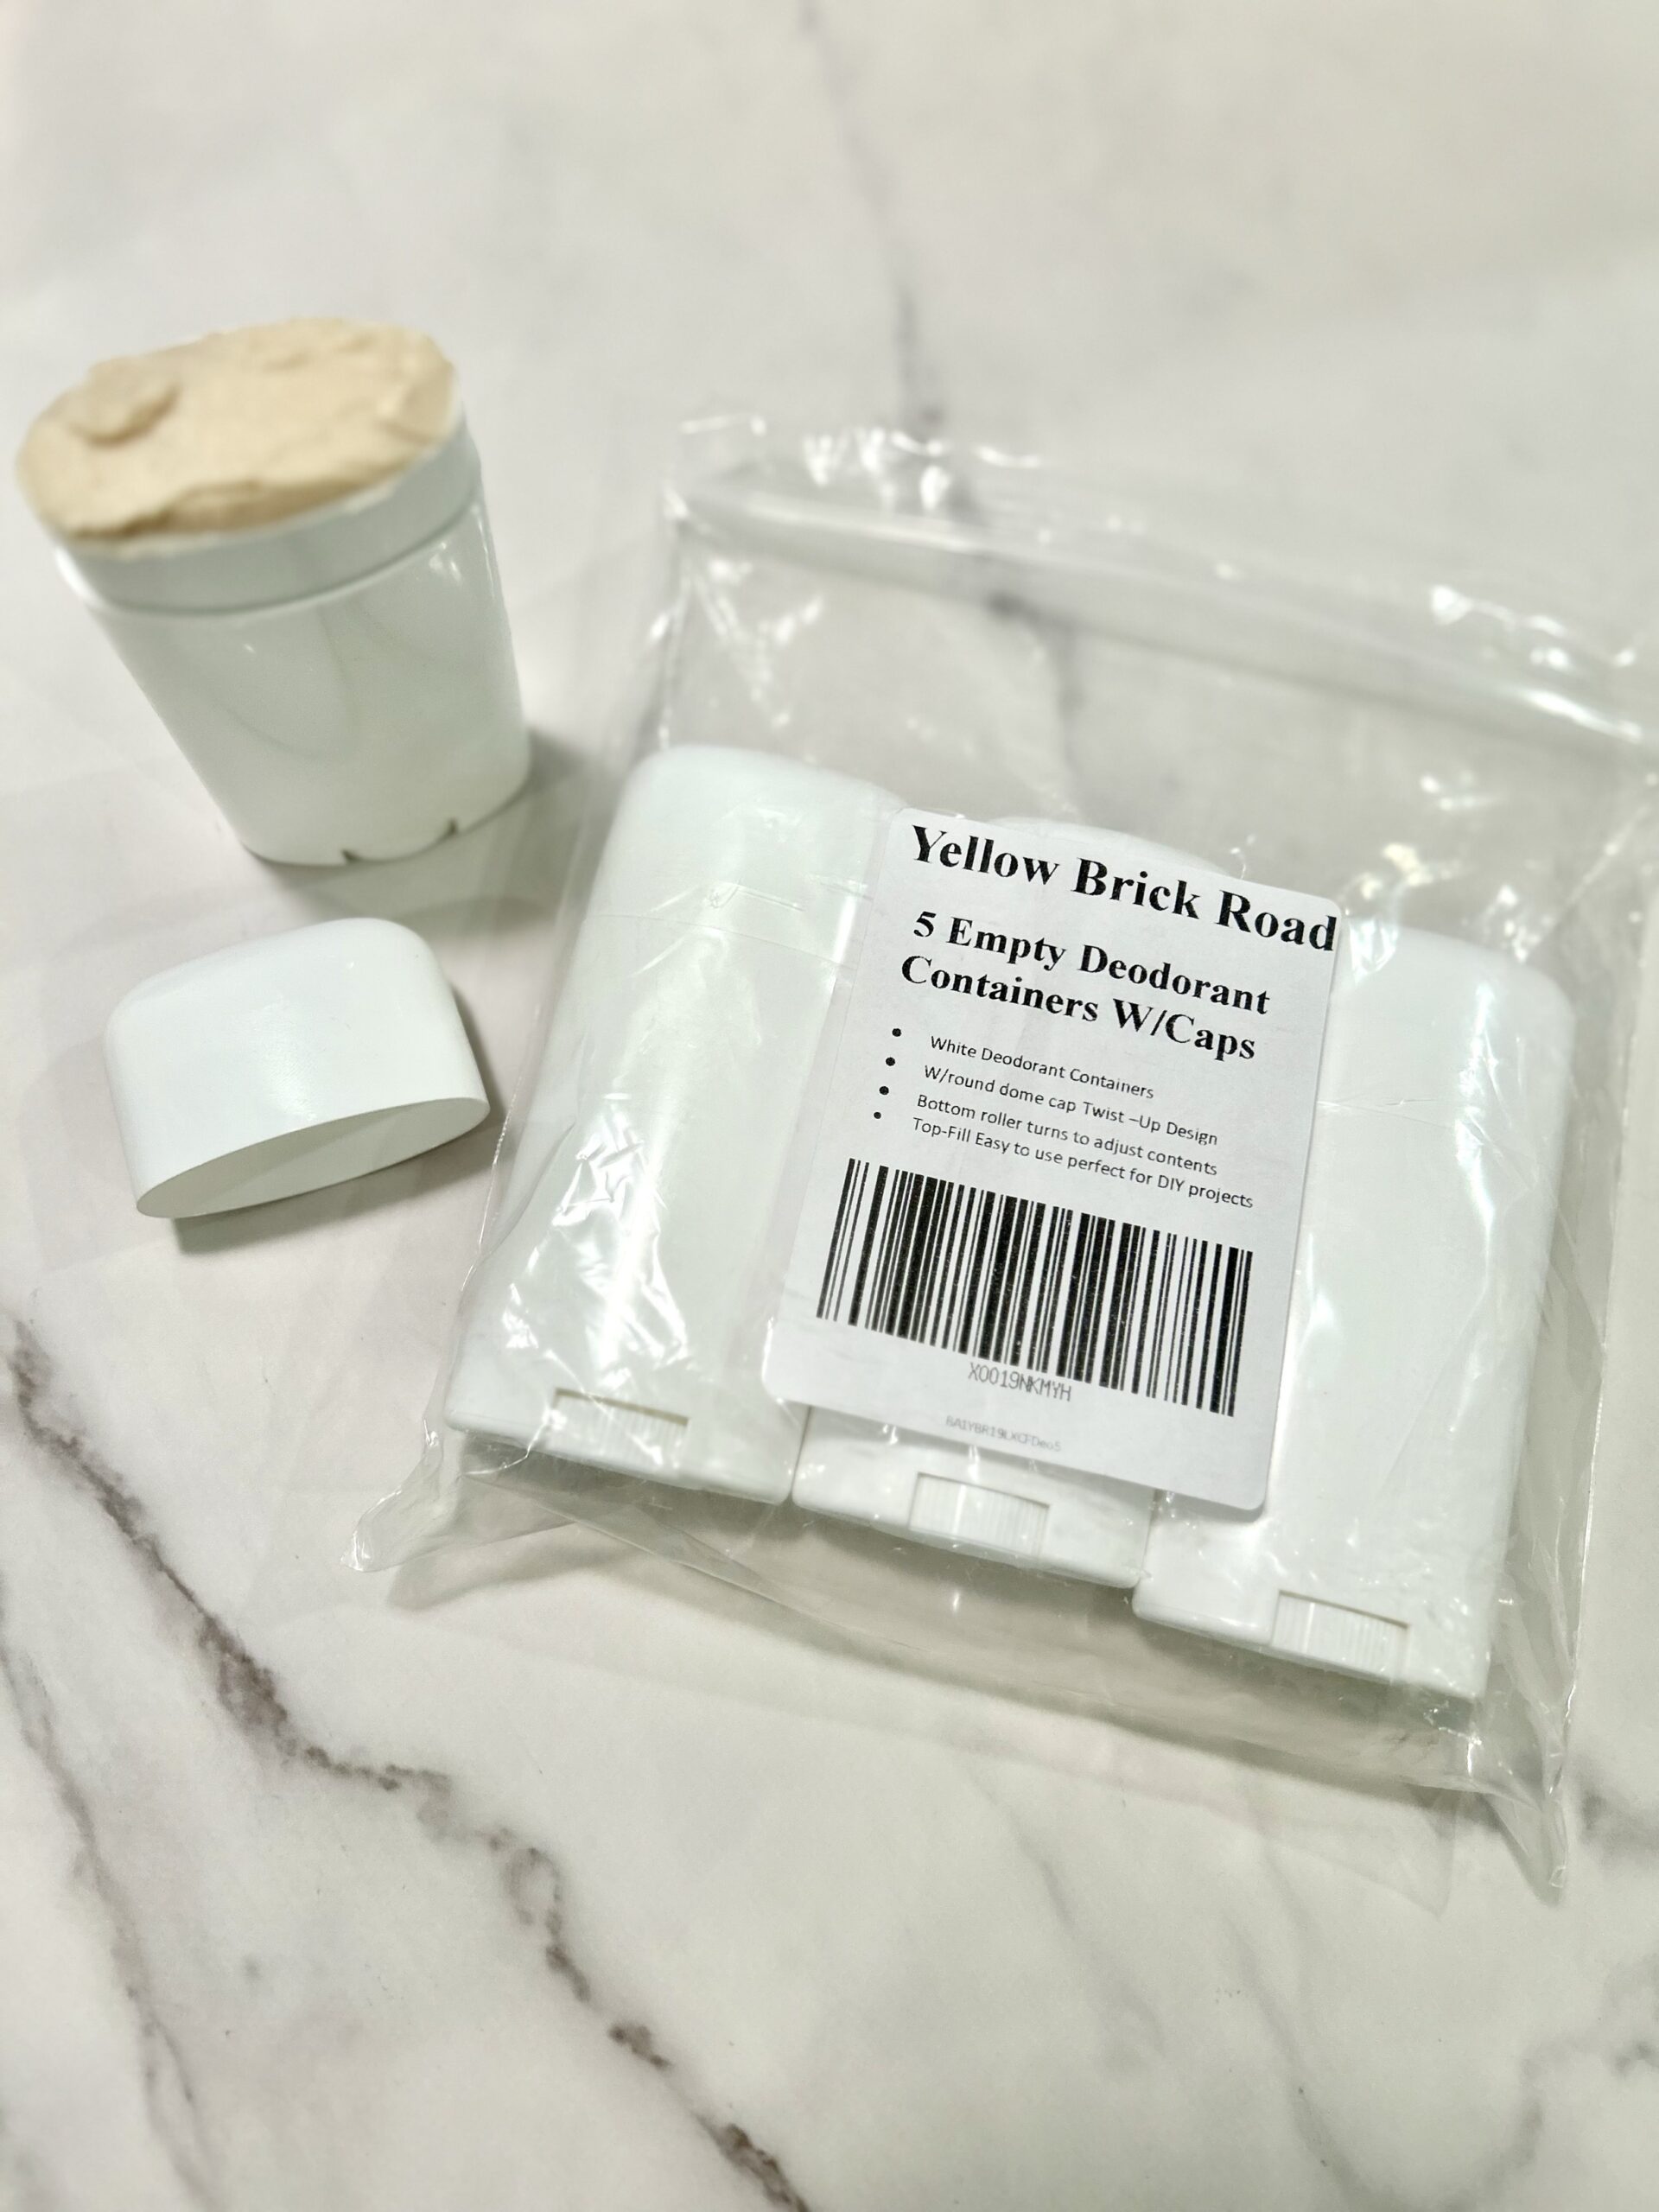
I wasn’t about to let my DIY dreams die that easily. So, I did what any determined mama would do—I turned to Amazon and started searching for deodorant tubes with NO HOLES. And guess what? They exist! I found some sleek, reusable tubes that were perfect for my little experiment.
With my new tubes in hand, I saved up 10 empty deodorant containers again, scraped out all the remnants, and tried the whole thing over.
This time? Success!

How to Repurpose Your Deodorant the Right Way
If you’re ready to turn your leftover deodorant bits into a fresh new stick, here’s exactly how to do it without making a total mess:
What You’ll Need:
✔️ 10-12 used deodorant tubes (or at least enough to give you a good amount of product)
✔️ A knife (for scraping out the leftovers and for smoothing the top)
✔️ A glass mason jar (for melting)
✔️ A kitchen pot (to create a double boiler)
✔️ Empty deodorant tubes (I got mine on Amazon, here are the ones I used and recommend).
*PRO TIP: make sure the deodorant rubs you buy don’t have holes at the bottom!
Step-by-Step Guide to Melting & Repurposing Your Deodorant
Grab your favorite old deodorant tubes (I know you’ve been saving them just for this moment) and let’s get started! This DIY project is super simple, and I promise it’s going to be worth it. Plus, it’s a fantastic way to use what you already have and keep things from going to waste.
Instructions:
- Scrape out all the leftover deodorant.
Start by collecting the used deodorant tubes (about 10-12) that you saved the last bit of deodorant from. Use a knife to carefully scoop out every last bit from your old tubes and place it all into a glass mason jar. (Trust me, you’ll be shocked at how much product is left in those “empty” containers!)
- Set up a double boiler.
Fill a kitchen pot with warm water and place your mason jar in the water. Then, set it on the stove over medium heat. (Pro tip: Do NOT use high heat! If you overheat it, the ingredients can burn, and nobody wants burnt deodorant.)
- Stir until fully melted.
Let the deodorant melt down slowly, stirring gently to make sure everything blends together evenly. Once it’s completely melted, remove the jar from the heat.
- Pour into your fresh deodorant tubes.
Stir the mixture to make sure everything is well combined. Now, pour that melted goodness into a brand-new, empty deodorant tubes. (If you got the ones from Amazon, no leaks! Yay!)
- Smooth the top.
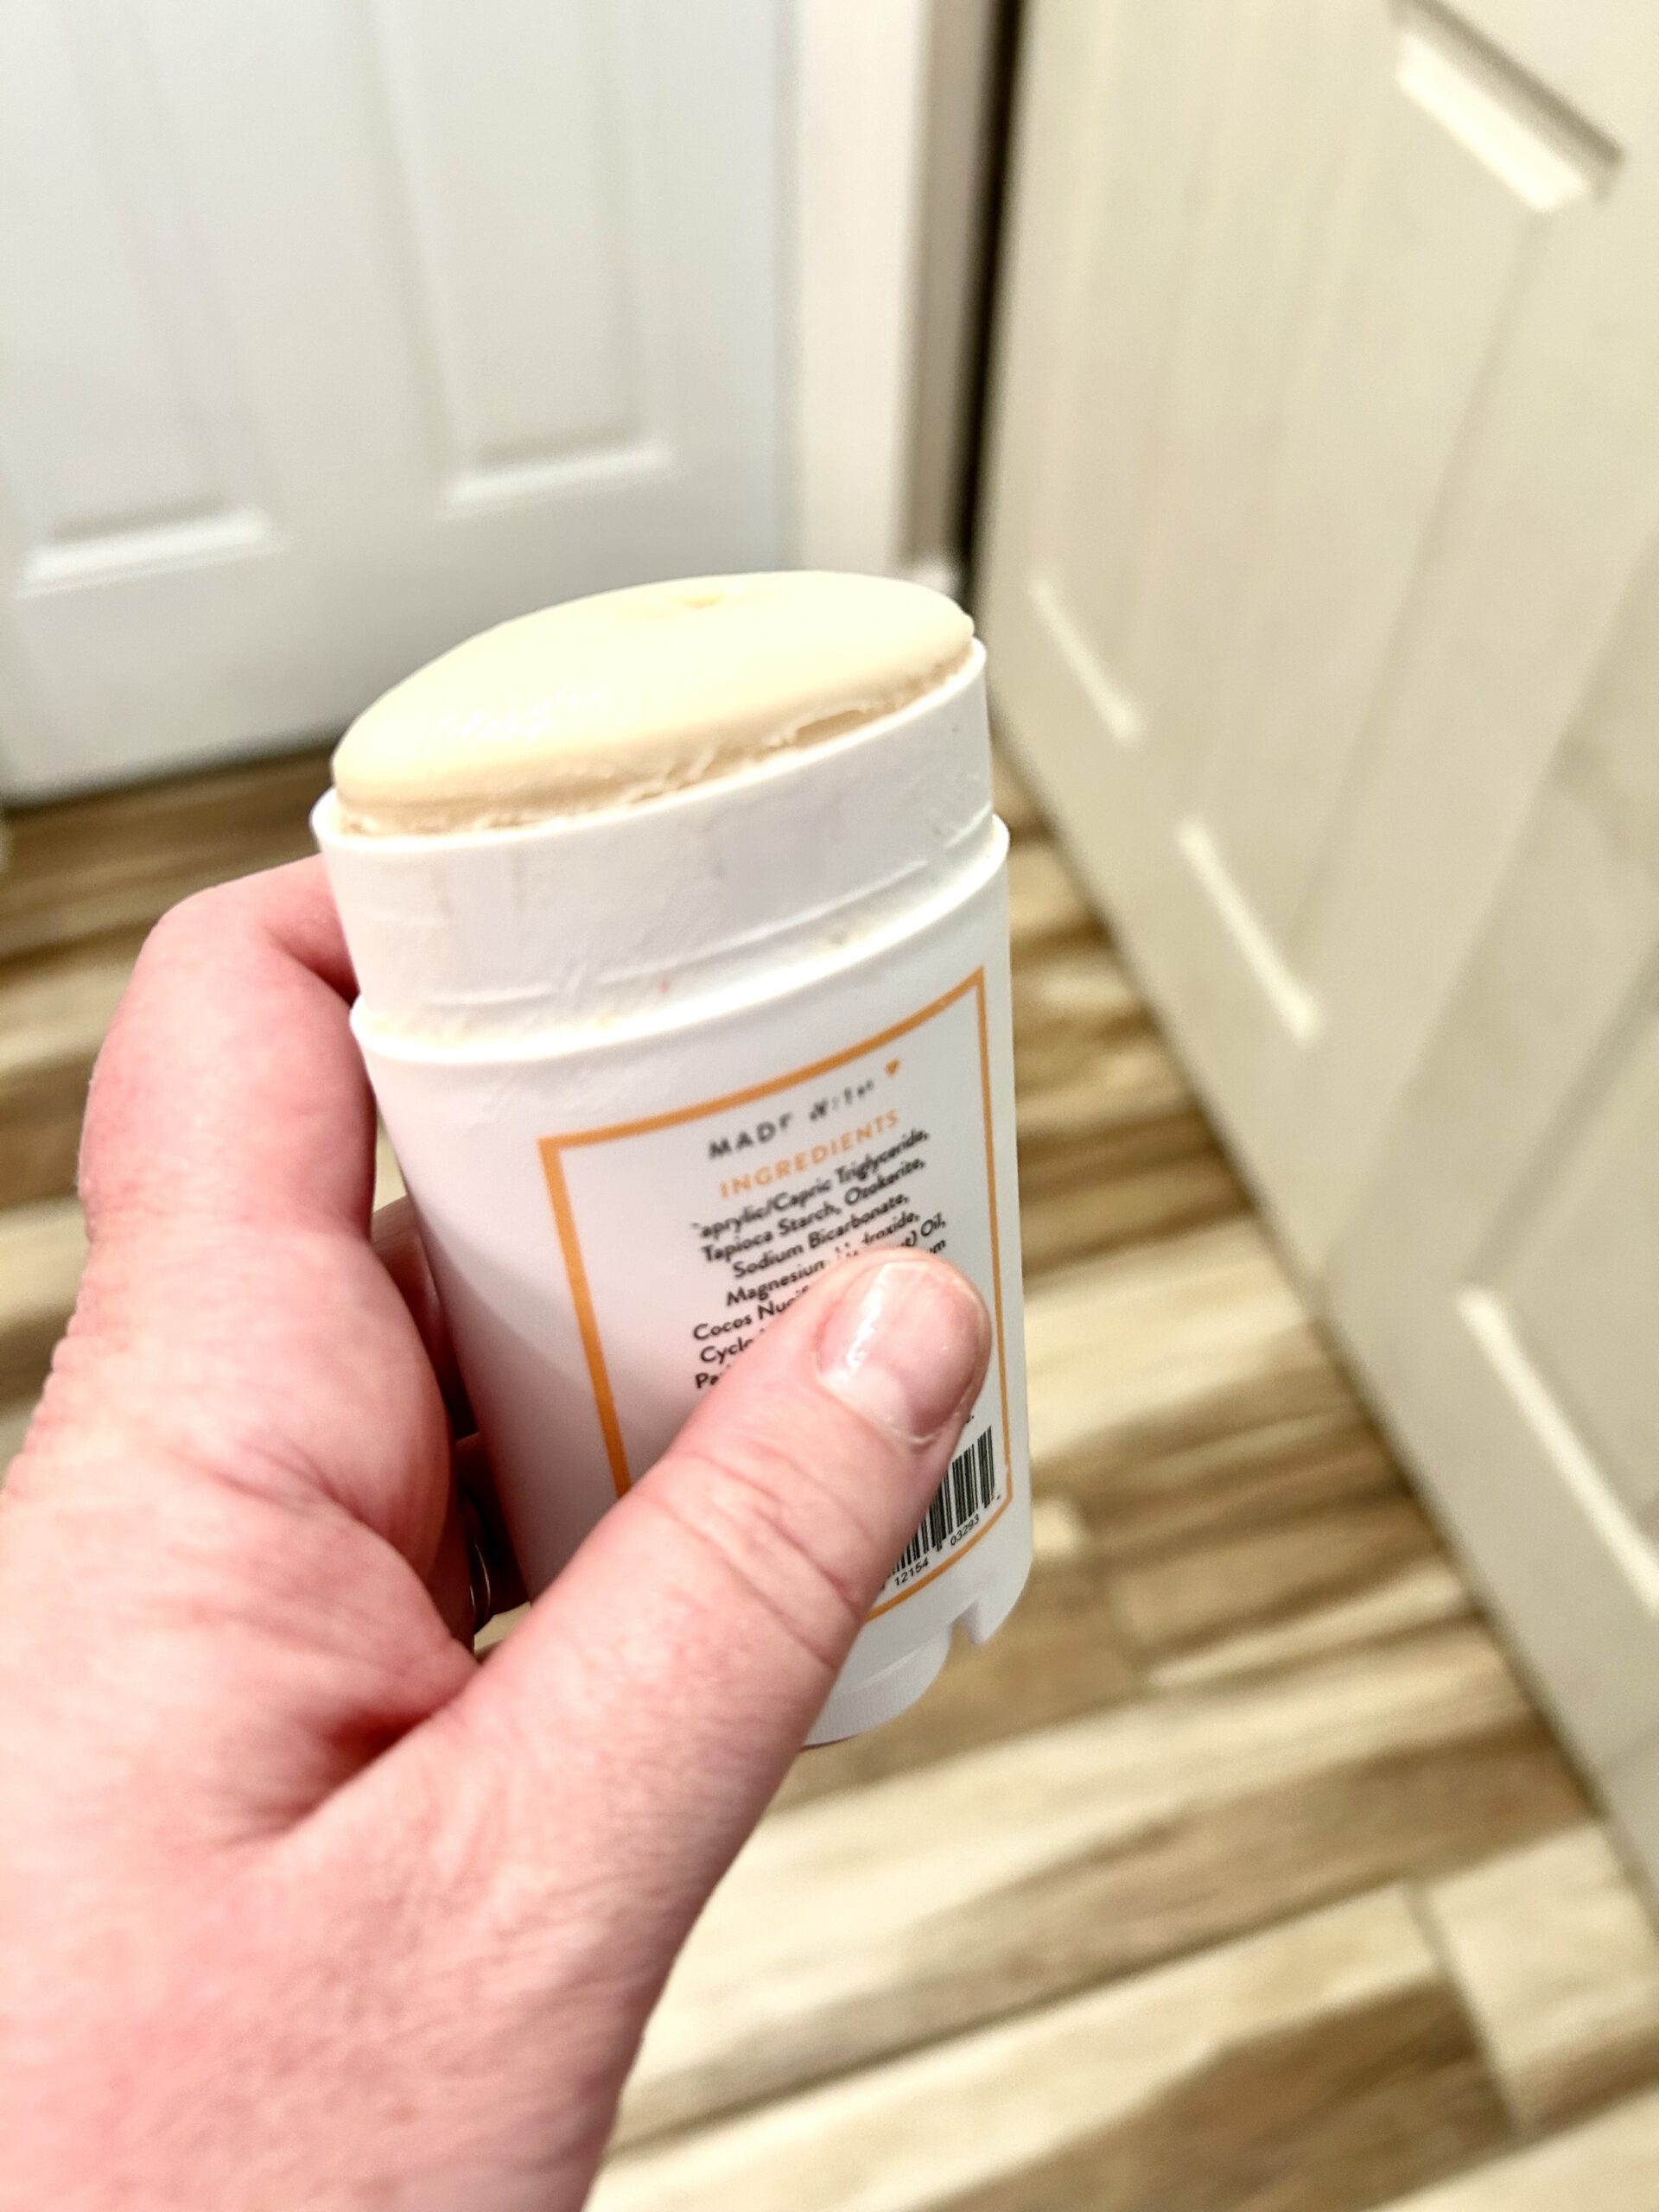
Use a butter knife to create a smooth surface on top. This isn’t totally necessary, but it makes your deodorant look like a brand-new store-bought stick. And we love a pretty final product!
- Let it cool and solidify.
Pop your deodorant tubes in the fridge and let them cool and solidify. It’ll only take a couple of hours to completely set. You now have a brand-new stick of deodorant, made entirely from product that would’ve been wasted! How cool is that? And you didn’t even have to spend a dime on a new product. Good job mama!
Bonus Tip: If you want to get fancy with it, you can add a few drops of your favorite essential oils to the mixture before you pour it into the tubes. Lavender, tea tree, or eucalyptus oils all make awesome additions for extra freshness and antibacterial properties.
Does Melting Deodorant Affect Its Effectiveness?
Before fully committing to this DIY project, I did some research to make sure that melting down the solid deodorant will not change its effectiveness and here is what I found:
Melting down deodorant and repouring it into a new container generally does not change its chemical composition or significantly alter its effectiveness, provided you handle it properly.
Here’s a more detailed breakdown:
✔️ It’s a physical change, not a chemical one. The ingredients stay the same—they just transition from solid to liquid and back to solid.
✔️ Some volatile ingredients (like fragrance oils or alcohols) can evaporate if overheated. That’s why it’s important to use low heat and melt your deodorant slowly.
✔️ The texture might change slightly. If cooled improperly, the deodorant could become softer or slightly grainy, but if you follow the steps above, it should turn out just fine.
Keep It Clean: BEST Non-Toxic Deodorant Brands
Now, if you’re using this trick with conventional deodorant, just be aware that a lot of them contain cringy, toxic ingredients (aluminum, parabens, synthetic fragrances—you name it). If you’re going for the whole natural, non-toxic vibe, or if you’re looking to switch to a cleaner, healthier option, here are a few of my faves that I swear by:
💚 Arbonne Deodorant – Clean ingredients, vegan, and toxin-free! Featuring Shea butter!
💚 Native Deodorant – One of the most popular clean deodorants, and it actually works. Plus, they’ve got so many awesome scents- especially the seasonal ones around the holidays.
I LOVE these brands because they are all about keeping things simple and clean while still being super effective. Plus, they’re cruelty-free, so you can feel extra good about your choices!

Final Thoughts: Was It Worth It?
Honestly? YES.
Not only did I save money, but I also felt like an eco-conscious queen by reducing waste and repurposing something that would’ve otherwise been tossed. Plus, it was weirdly satisfying to see all my little deodorant scraps come together into a brand-new stick.
Would I do it again? Absolutely. And next time, I might even experiment with making my own deodorant from scratch. (Stay tuned for that adventure! 😉)
Have You Tried This? Let’s Chat!
Have any of you tried melting down and repurposing your deodorant before? Was it a success, or a total fail? Or maybe you’ve made your own from scratch? Let me know in the comments below—I’d love to hear your DIY stories! And if you haven’t tried it yet, I highly recommend giving it a go—especially if you’re looking to get creative with your repurposing and saving some cash!
Thanks for hanging with me today, and I hope this little DIY project adds a bit of fun to your month!
Until next time, stay fresh, stay fabulous, and keep rocking that clean, natural lifestyle.
XOXO,
Allison
P.S. Don’t forget to check out my last post about DIY homemade laundry detergent if you haven’t yet! It’s the perfect complement to this deodorant hack. 😉


0 Comments